
General Picker is used to create a collection of data types on the home page. These data types include:
For all data-types, you can choose how you want them to be displayed. You can hide elements like description, image, title or button
You can also remove top spacing if needed. This will allow you to add a component above the General Picker component that might have padding at the bottom of the component
- Services
- News items
- Permits
- Regulations
- Products
- Licenses
For all data-types, you can choose how you want them to be displayed. You can hide elements like description, image, title or button
You can also remove top spacing if needed. This will allow you to add a component above the General Picker component that might have padding at the bottom of the component
- Click the Appearance tab at the top of the components
- Select in ‘no top spacing’ no
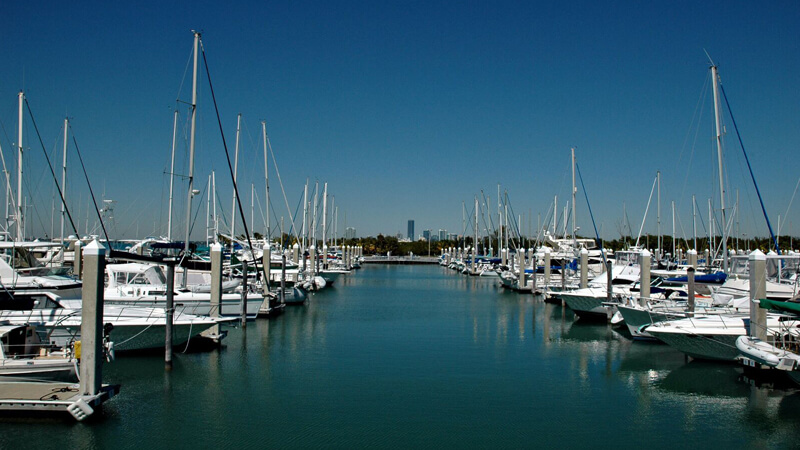
Miami-Dade marinas are equipped to help you have a great experience, whether you're fishing, diving or riding the waves.
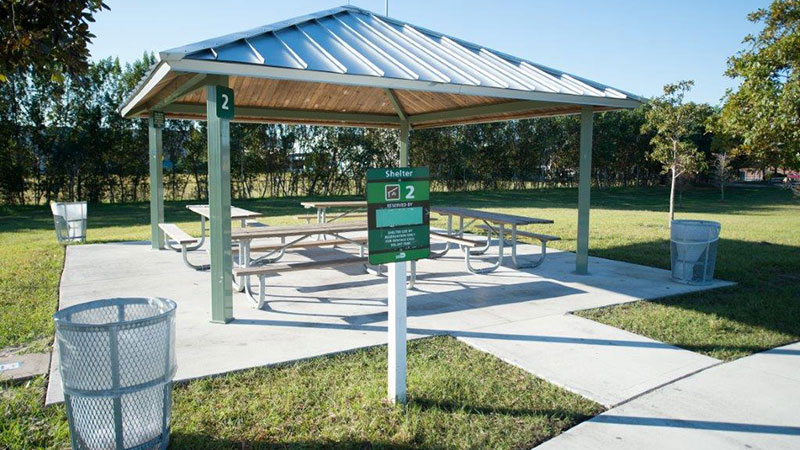
Reserve a Parks facility or field for family or business events and apply for a permit for photography or film at any Parks location.

Services
- Add your title in the Title box of the General section
- Add the number of item options you would like
- Choose ‘data-types:services’ in the Item Option section. That will import the name, description and image that was added into the service page.
- Click Browse right under choosing the data type for a window to pop up and follow the files to the intended service page
Note: The Link New Window? Box is only toggles to ‘yes’ when it directs to an external page. Pages within Miamidade.gov should not be set to open in a new window.

Adding a collection of .pages
You can also use General Picker when you want to add .pages as a collection. However you must enter the information manually as it is not a DCR
- Add an image
Once you have added the image to the correct folder path for your department, use select existing in the Path section for Image.
Make sure to add a description for ADA
You can also add an .SVG icon
Find an icon in the icons file and select - Add Button Text and description if needed
- Select the 'Link to a Page' button and scroll through to find your .page
- Add section button text
This will allow you to use a button to direct users to an index.
Add a title in the Section Button Text box
Select Link to URL and add the link to the index you want to direct to
News items
- Add the number of news items
- Choose ‘data-types:news’ in the Item Option section. That will import the name, description and image that was added into the service page.
- Select Browse and choose the news item you would like to add.
Note: You can change the alignment of the news item with the Media Alignment selection.
- You can also add the Twitter feed of your department. Once you have gotten the embed link from your Twitter account, add to the Twitter Feed section.

Communications and Customer Experience
Inson KimDirector
Stephen P. Clark Center
111 NW 1st Street,
Miami, FL 33128
305-375-5527
